
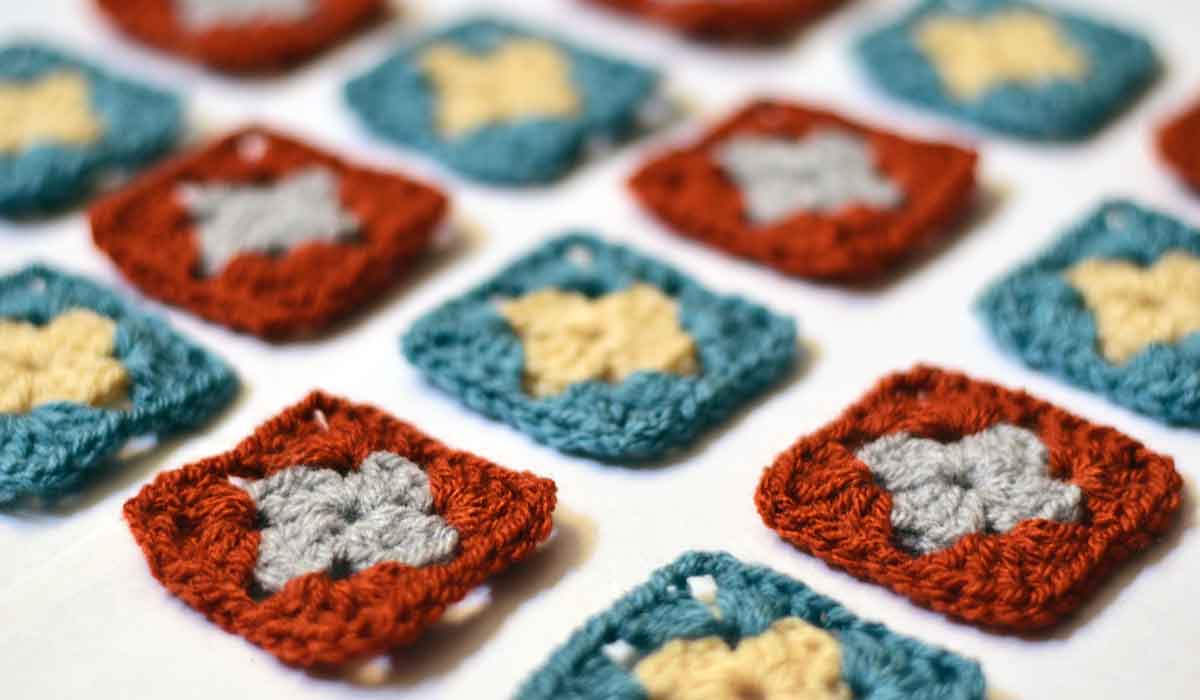
Everyone loves cheerful multicolor granny squares. No one loves weaving in ends. In this tutorial, I’m showing one of my favorite techniques to avoid breaking yarn while joining granny square motifs together, working the final round with a single color yarn.
We have 16 2-round granny square motifs to be joined together as we work their 3rd round in taupe.
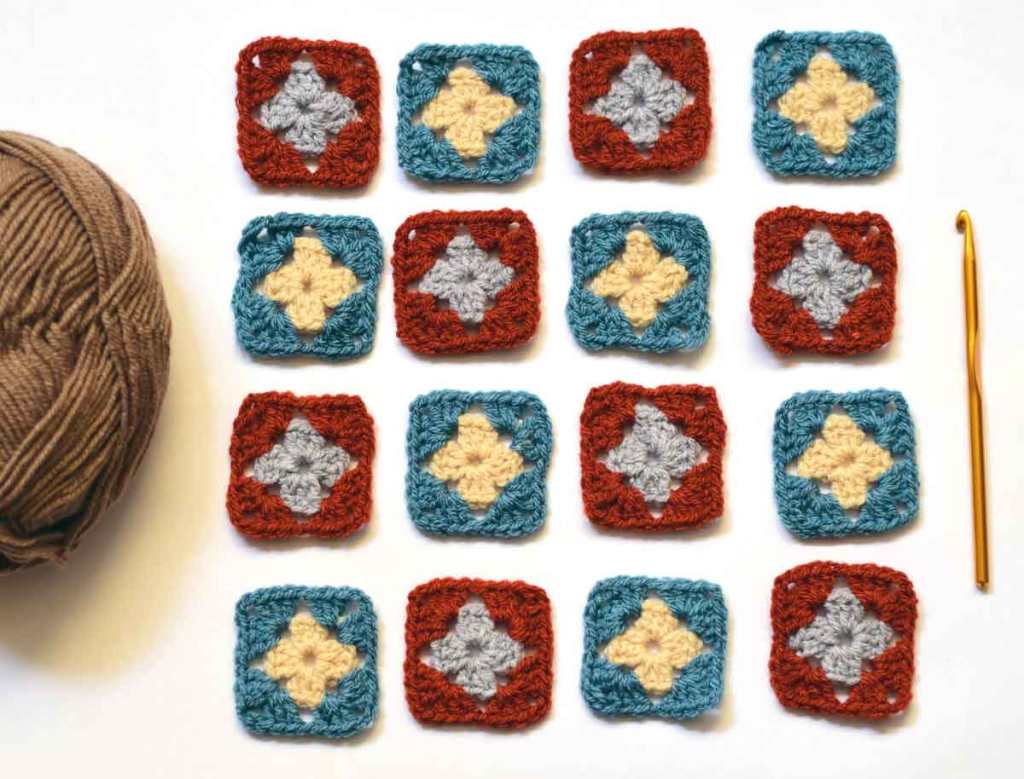
The motif is the classic granny square described in detail in my previous tutorial, where I also explained the single crochet join-as-you-go method of motifs joining. In this tutorial, I’m showing the technique only.
the technique
The red dot below indicates the start/finish point. The motifs are joined in the following order:

Step by step
Attach taupe yarn in any corner space of Motif 1 (this corner will be the red dot). Work as instructed for Rnd 3 until you have 3 sides completed, then work ch 3 as if for corner.
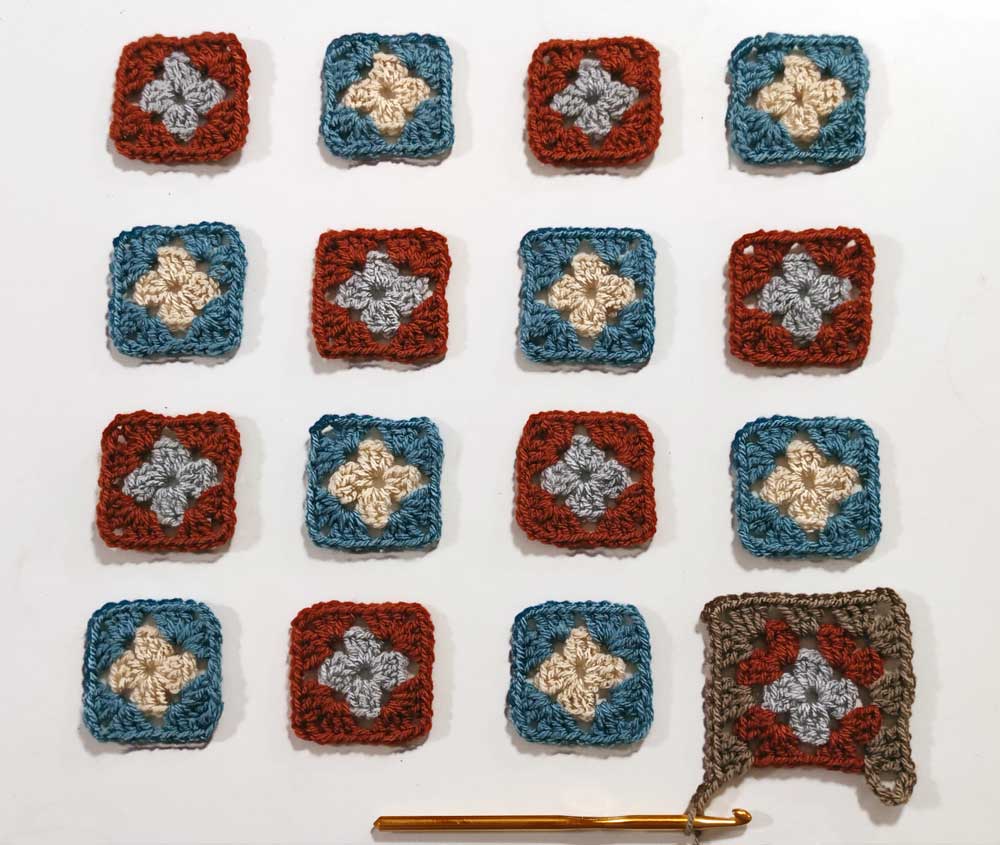
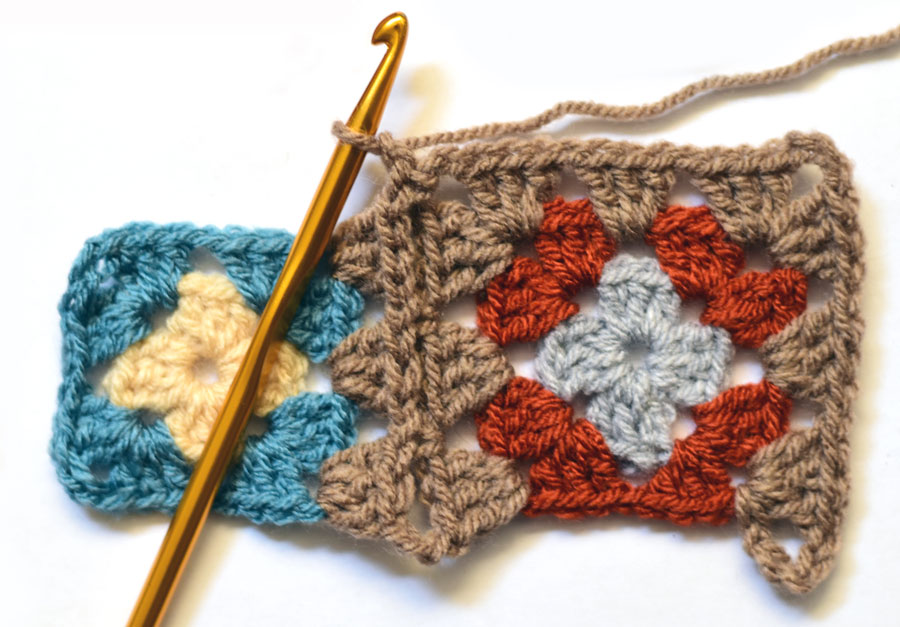
Instead of continuing to the 4th side of the same square, work a shell into any corner of Motif 2, then work a sc into the corresponding ch-1 sp of Motif 1 (as described in my previous tutorial on joining granny squares):

Attach the 2nd motif by its side,
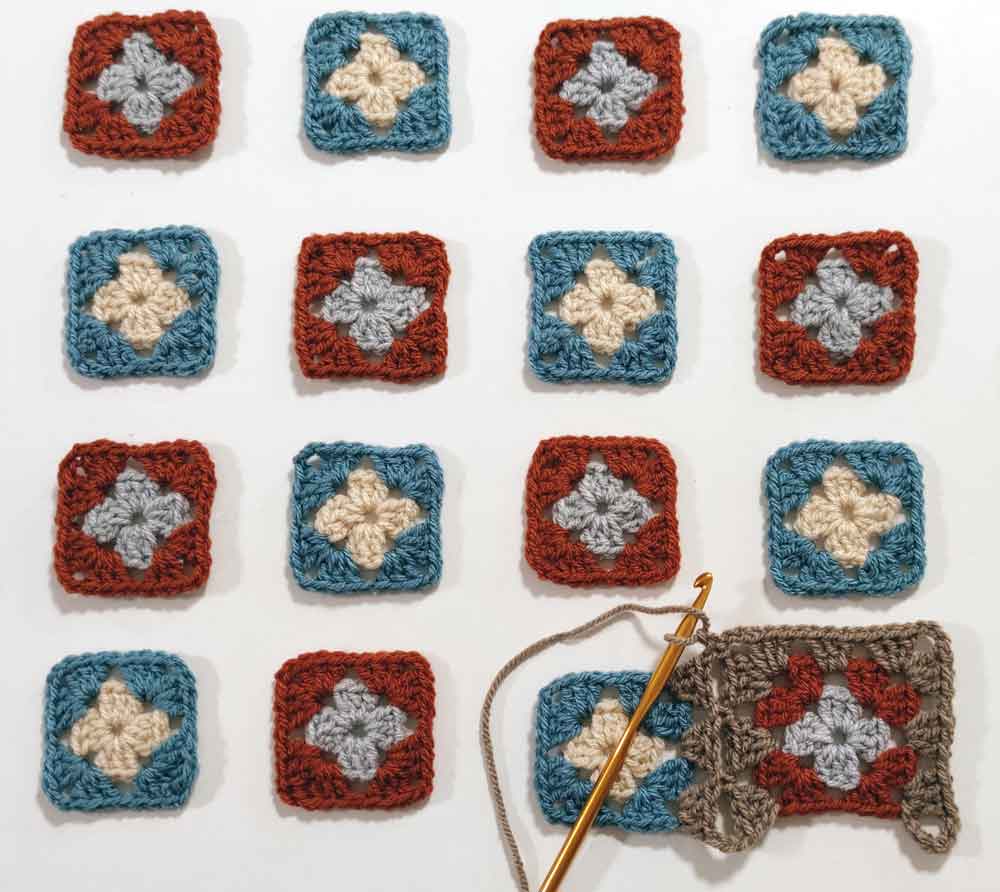
then work next two sides of the 2nd motif as usual.
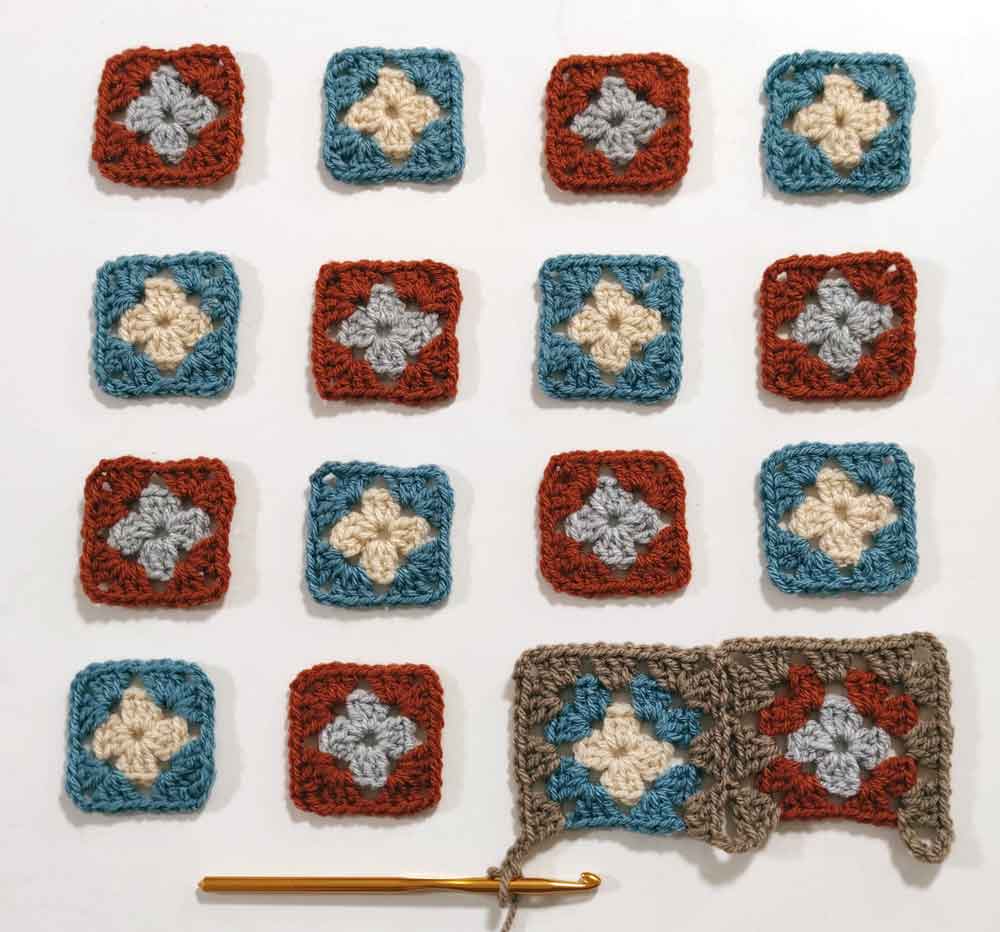
Continue adding next motifs in the same manner until you have first four motifs joined together and Motif 4 has two sides in taupe:
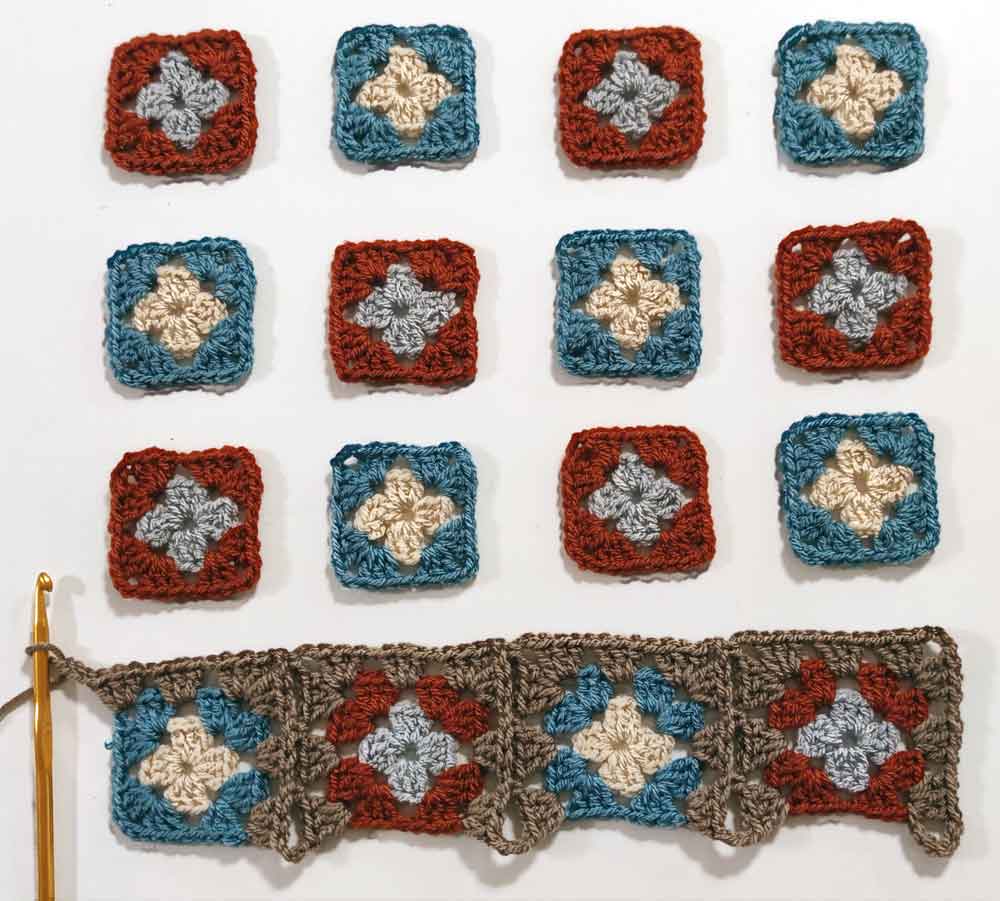
Then continue to add Motif 5:
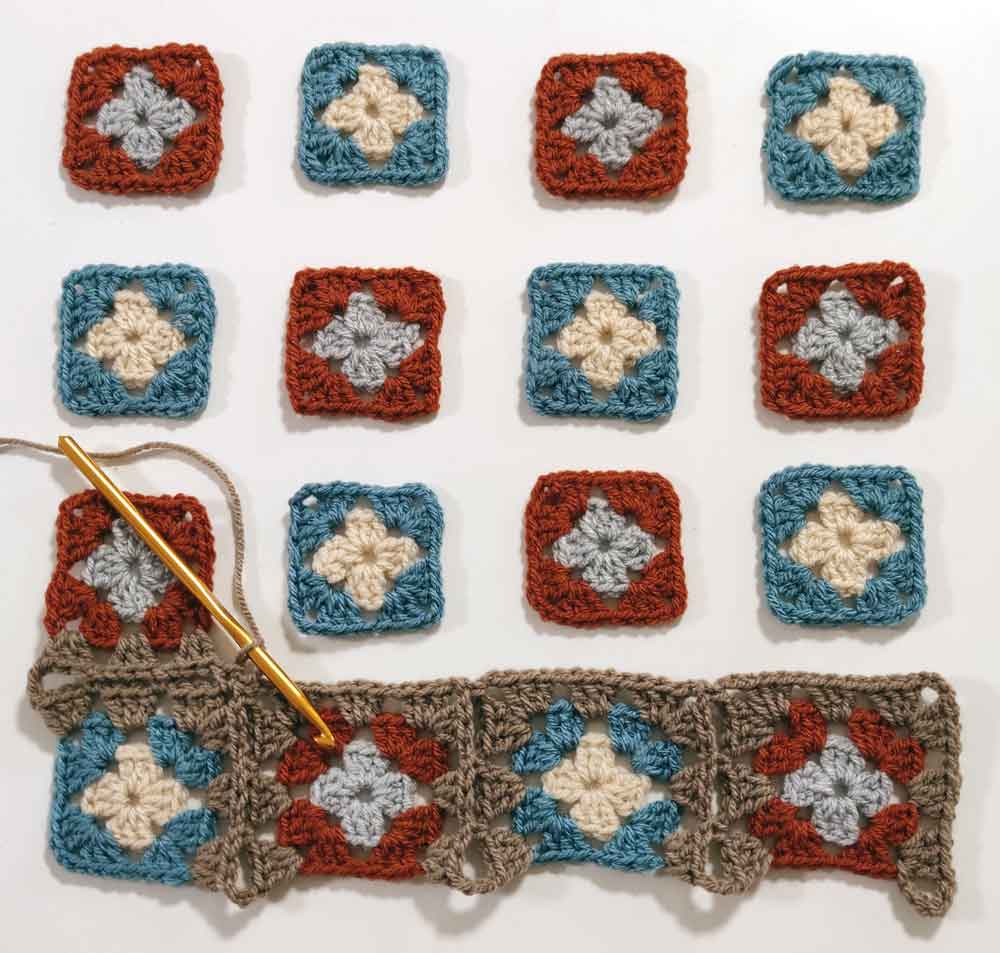
Work next side of Motif 5
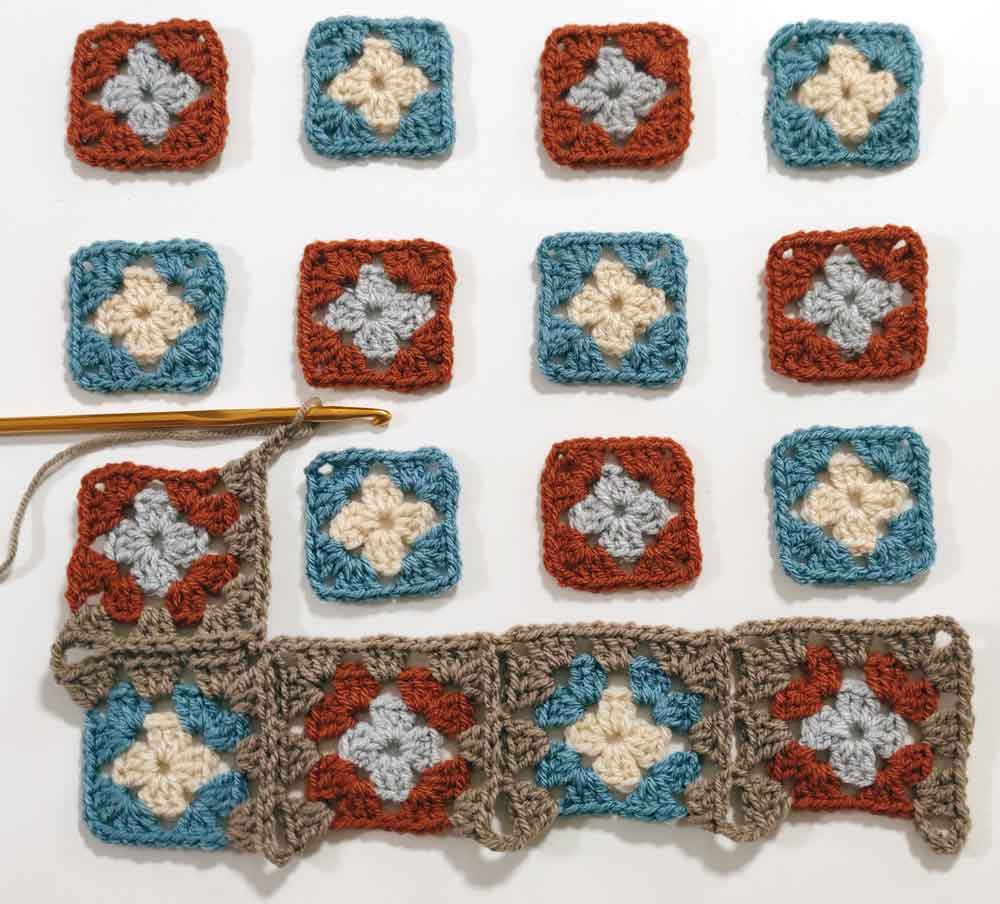
then attach Motif 6: finish one side with sc in corner of Motif 5 then start next side with sc in corner of Motif 3:

Work two more sides to Motif 6
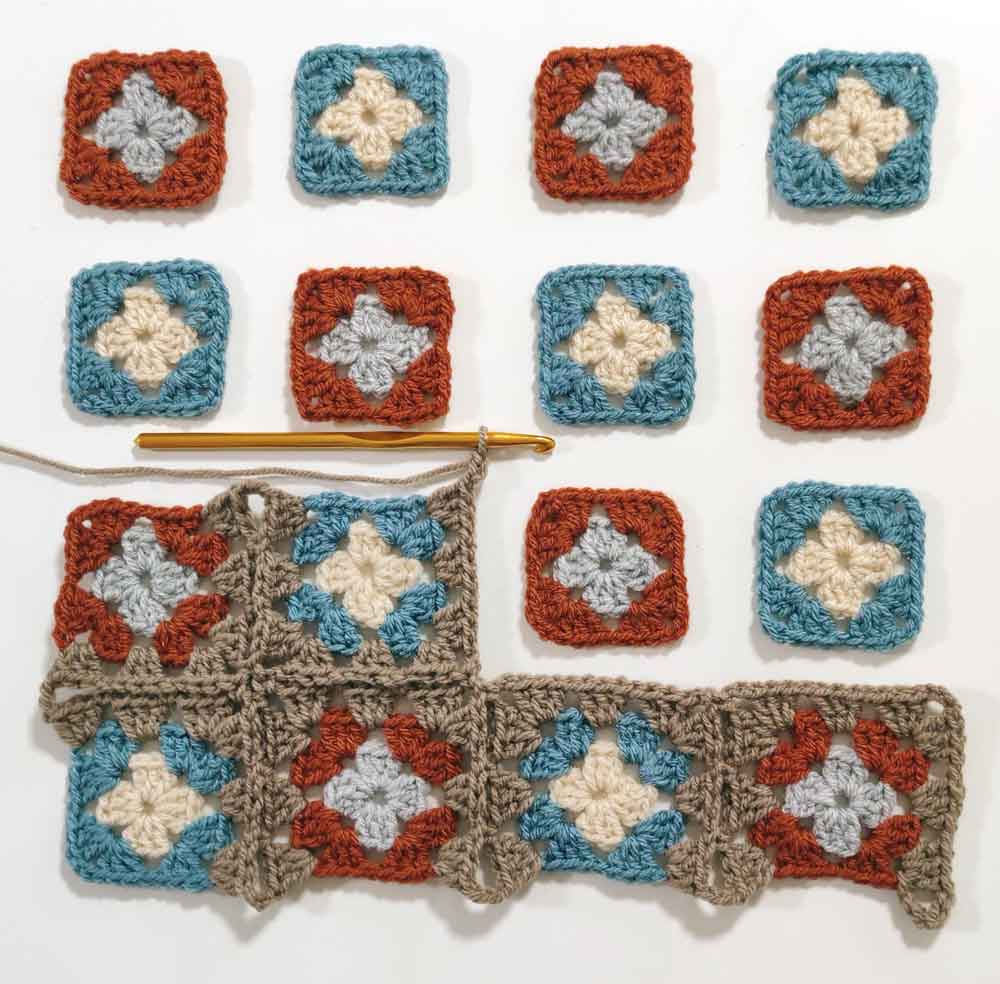
then attach Motifs 7 and 8 in the same manner:
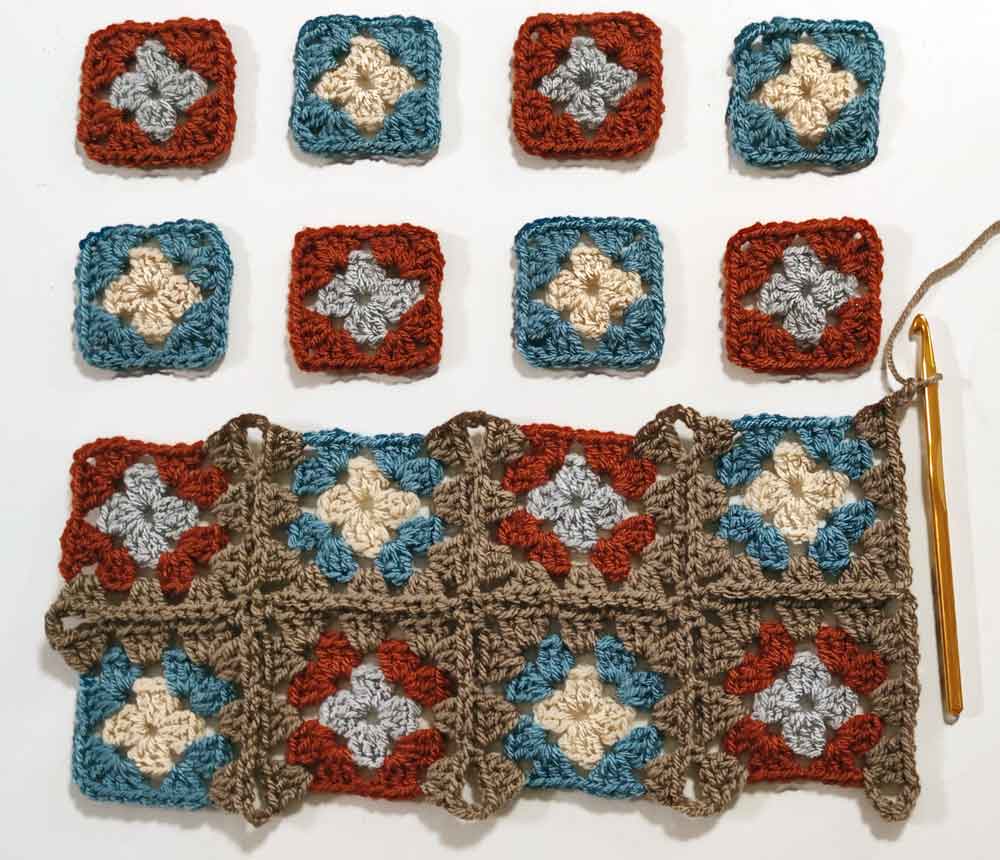
Close the missing side of the added Motifs 5-8 in one horizontal line. As you are arriving to the ch-3 chains between the motifs, work (ch 1, sc in the ch-3 chain, ch 1) then continue as usual:
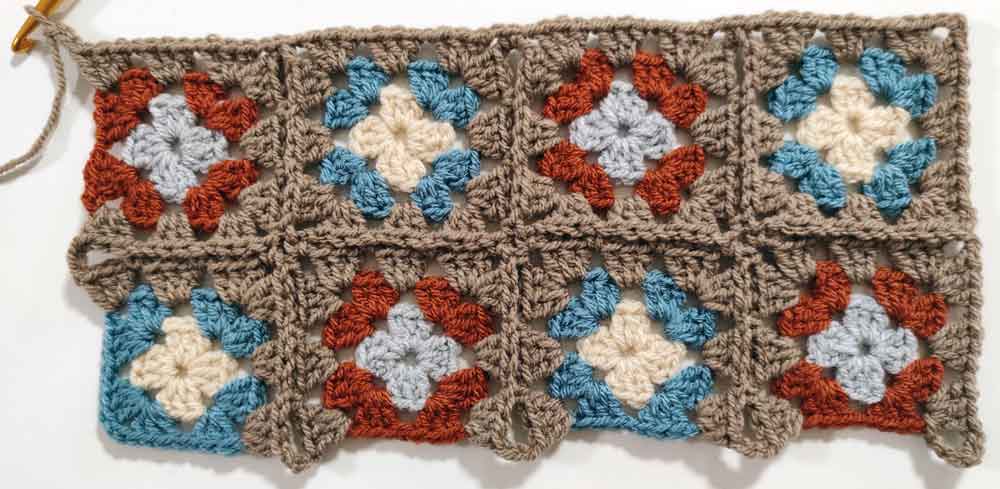
Continue adding the remaining motifs in the same manner:
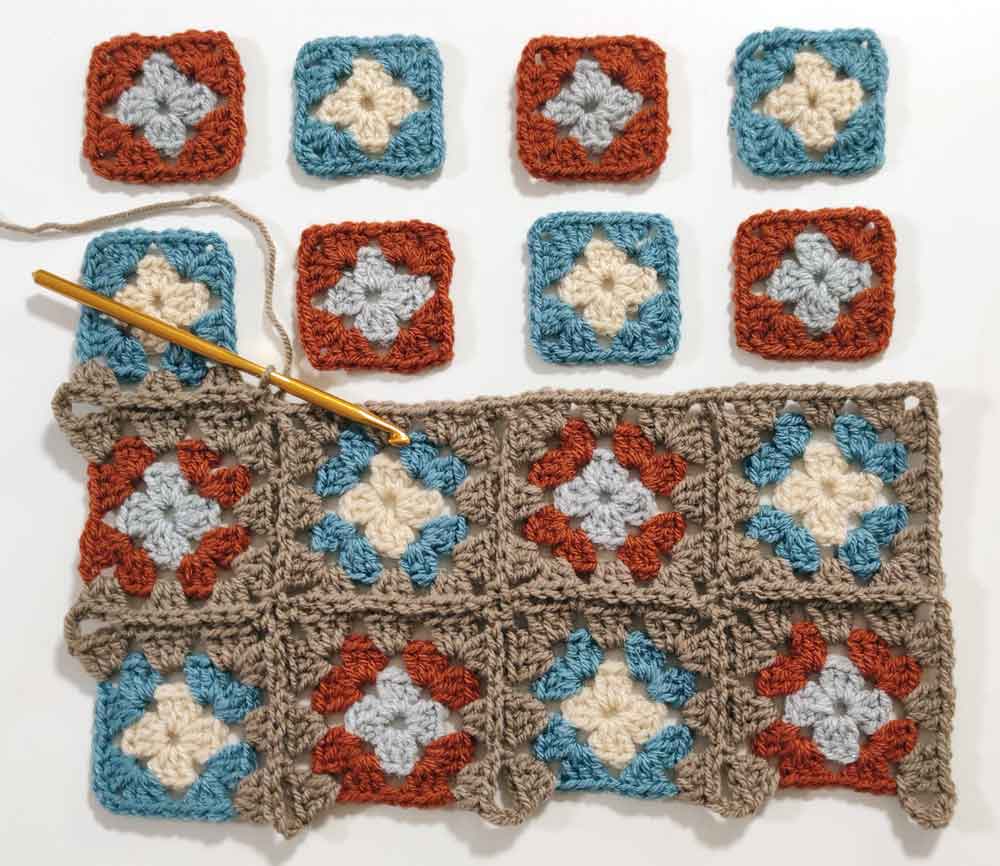
When you have all motifs added,
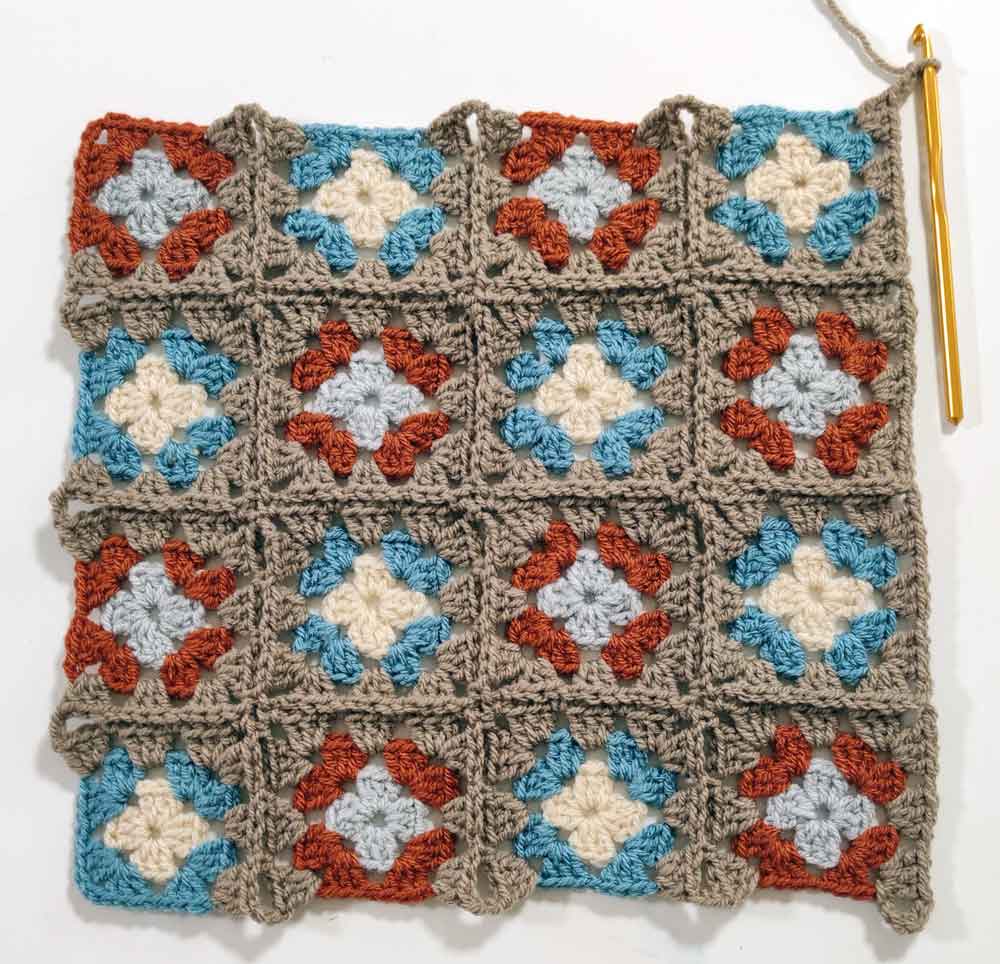
Close the missing sides counterclockwise as explained above until you arrive at the start/finish point, then fasten off and you’re done!
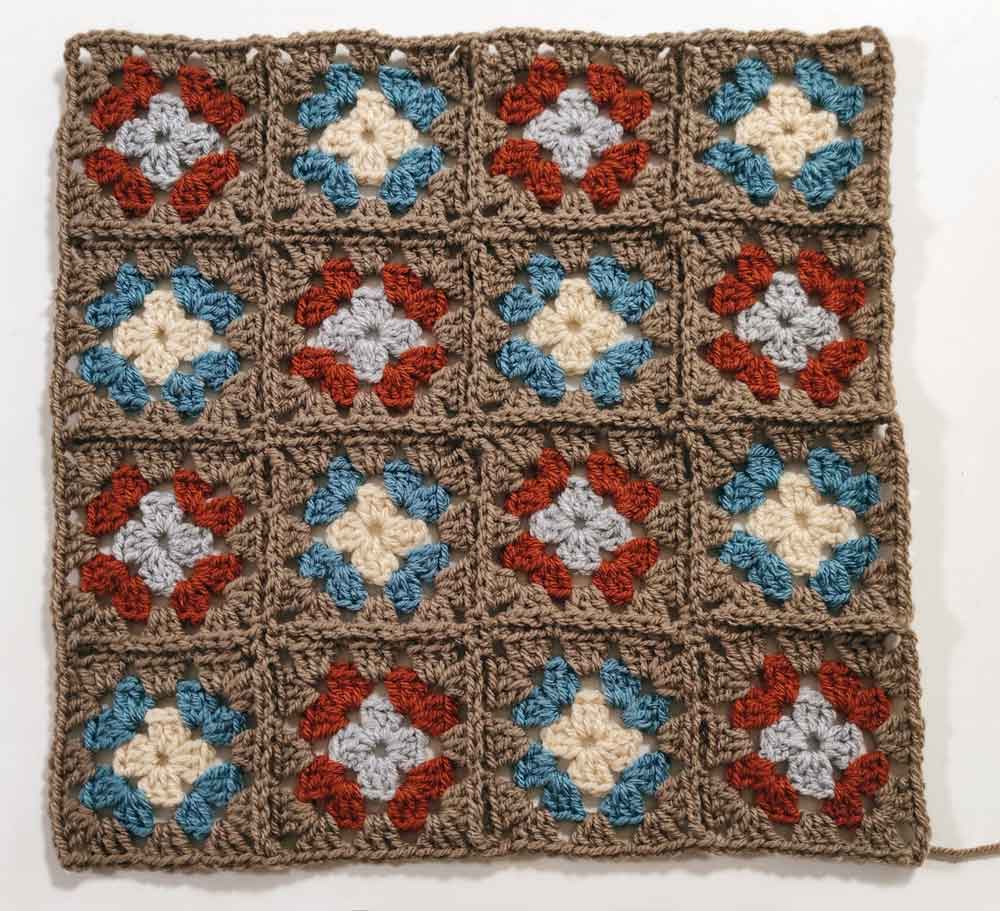
Block your square to make it shine! ☀
Using this method, you can add any number of granny squares as the logic is the same.
If you enjoyed this tutorial, share it using the buttons below to spread the love! If you have any questions, drop a comment, and I’ll be happy to assist!
One response to “Joining Crochet Motifs Together Without Breaking Yarn (Part 3)”
[…] Attach the joining color yarn in any external corner of the layout and work the 5th round around the square motifs joining them together as you go (see my tutorial on continuous SC JAYGO here). […]